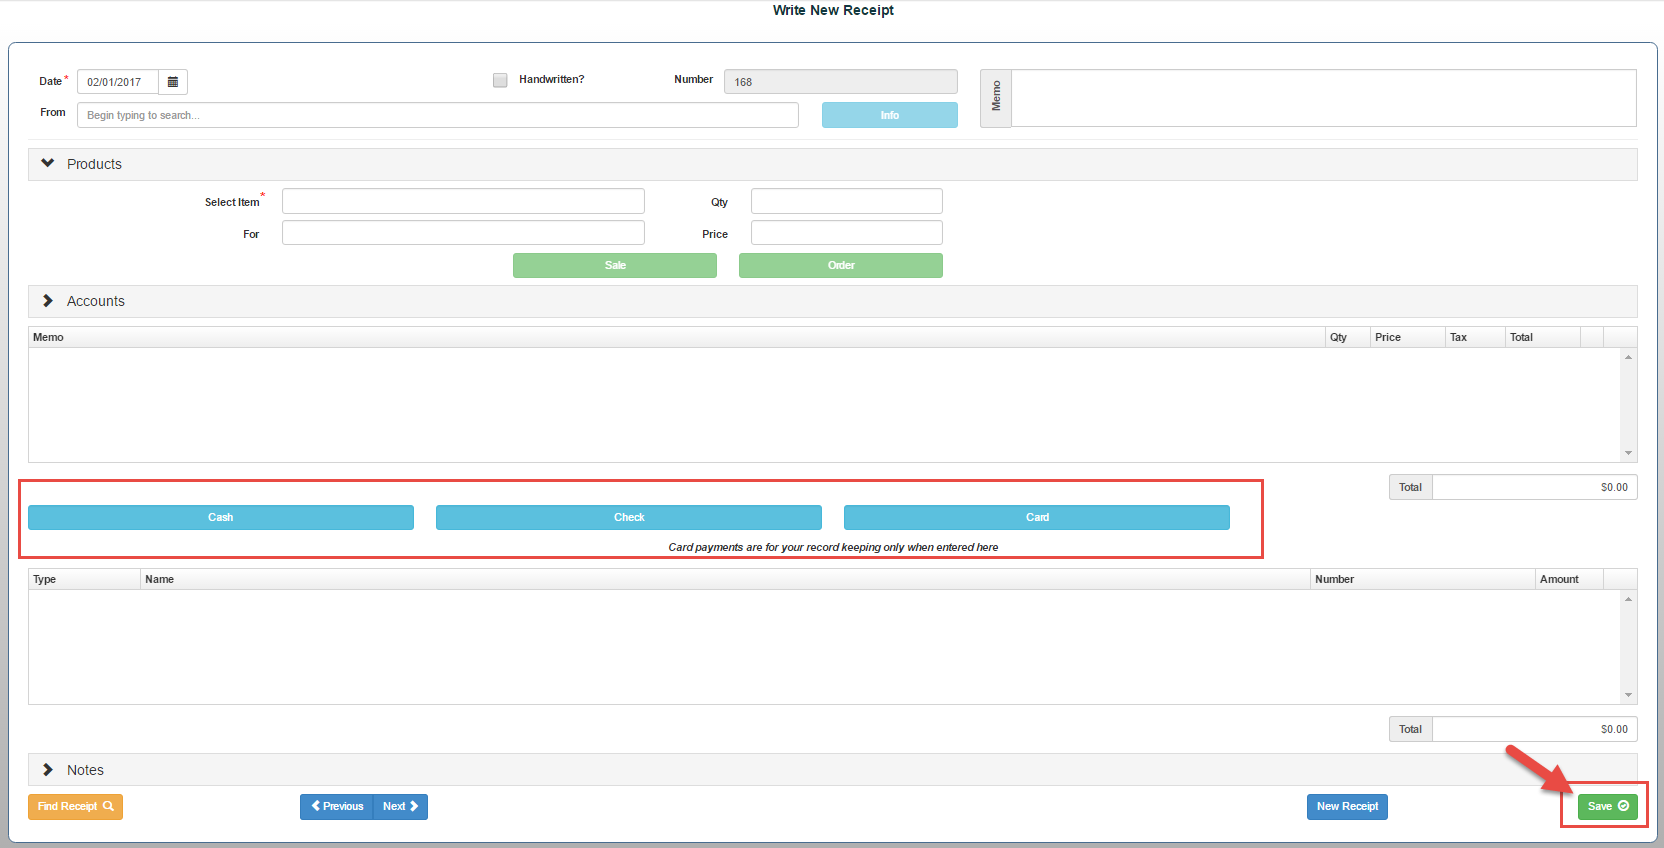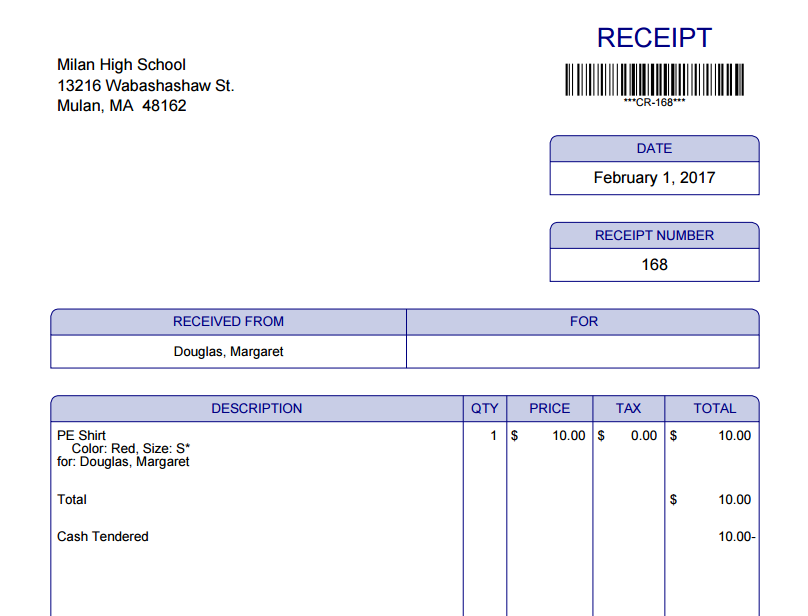
From the Receipts tab Select “Write New Receipt”
- In the “Received From” field, enter the name of the individual providing the payment, or scan their ID card to automatically populate the field.
- Adjust the date if needed.
- If the receipt is handwritten, check the “Handwritten?” box in the top-right corner. *Note: When this box is selected, the receipt will not print.
- Enter a receipt memo if desired. *Note: This field is optional.
- Select the appropriate transaction type for the receipt.
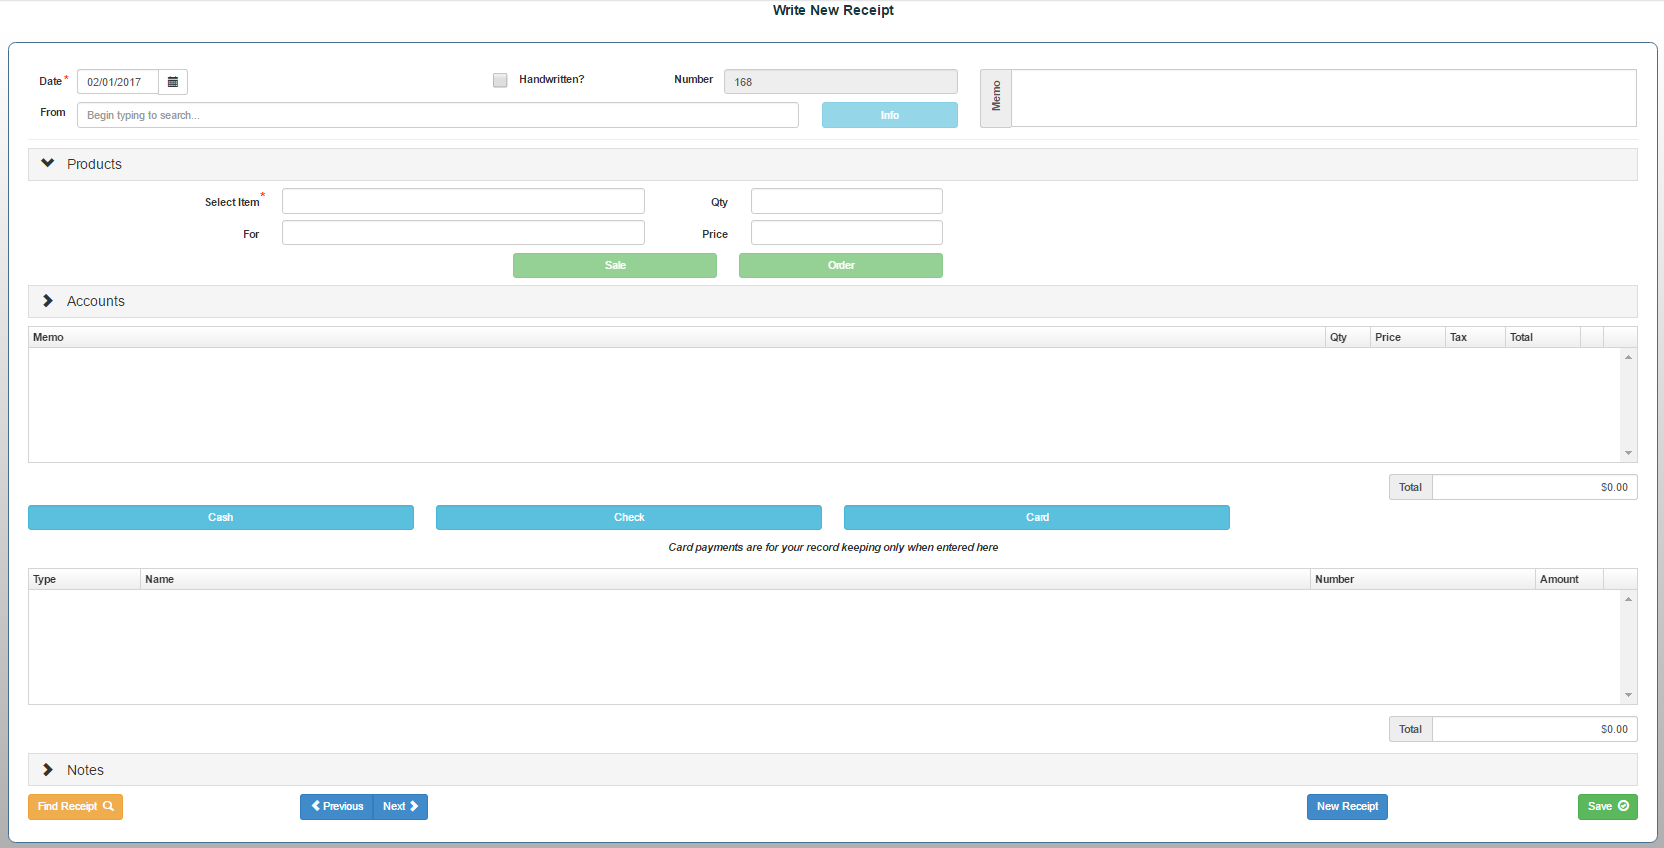
Products
Use this option when processing an item sale.
*Note: Items must be set up in Item Admin before they can be selected.
Product Sales
- Select the item being purchased and enter the quantity.
- Complete any required Options fields.
- Choose one of the following:
- Sale – for items being provided immediately
- Order – for items to be picked up at a later date/time
- Tip: Repeat this process to add multiple items to the same receipt.
Accounts
Use this option for cash collections not tied to item sales (e.g., donations).
*Important: All fields marked with an asterisk (*) must be completed before the receipt can be saved.
Account Transactions
- Enter the appropriate account to post the funds.
- Enter the fundraiser name (if applicable).
- Enter a name (optional) and the amount.
- Click “Add.”
- Tip: Repeat to add multiple entries to the receipt.
Select Payment Type
Choose the appropriate payment method:
- Cash
- Check
- Card
- Student Funds (if available)
*Note: Selecting “Card” in ASBWorks does not process or charge a credit card. It is for recordkeeping only.
Click “Save” to complete the receipt.